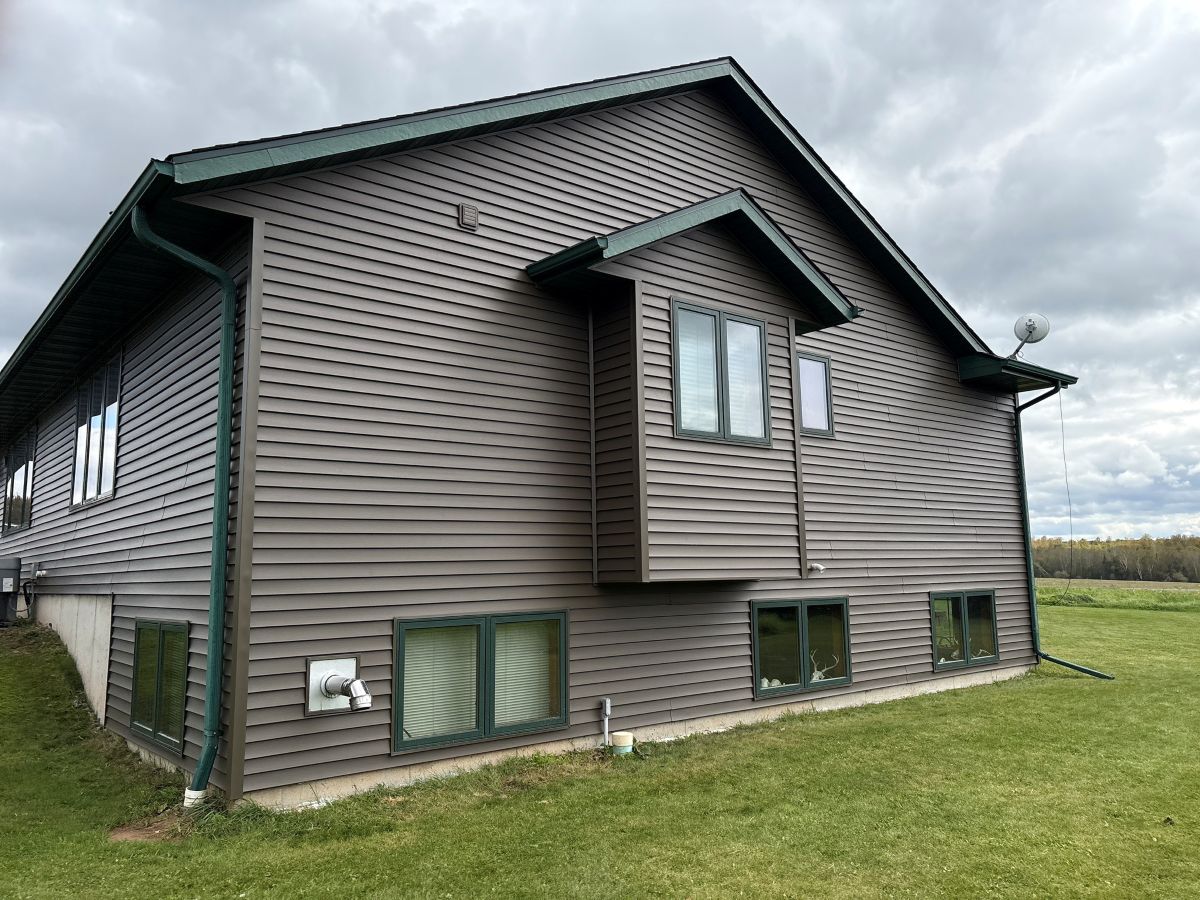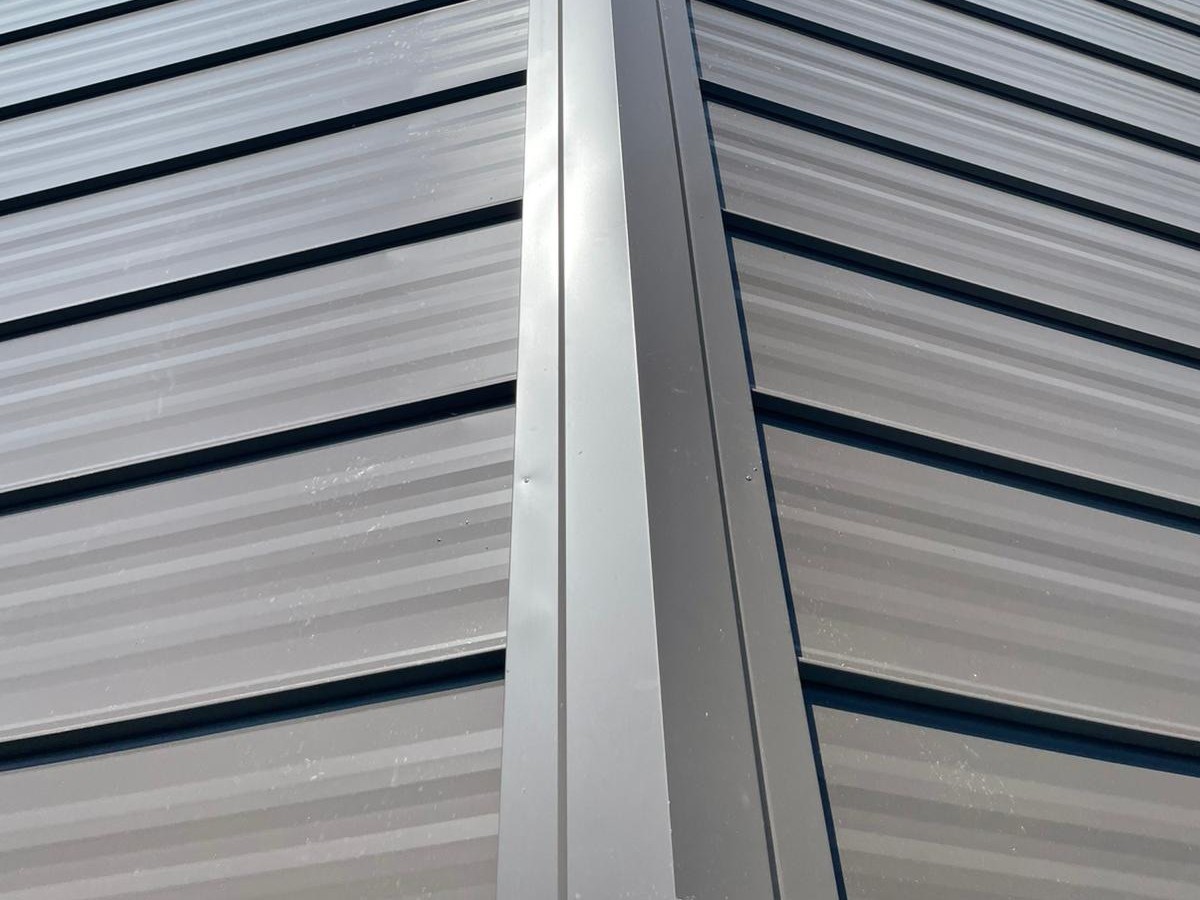
How to install vinyl siding is a question we hear from homeowners who want to better understand what goes into a siding project and what to expect during installation.Vinyl siding plays a major role in protecting your home from the elements while also boosting curb appeal. While full installation is often best handled by professionals, understanding the process helps homeowners make informed decisions.
- Project clarity: Knowing the steps helps you understand what proper installation involves.
- Expectation setting: A clear process explains timelines and preparation.
- Smarter decisions: Knowledge helps homeowners know when to call us instead of attempting DIY.
Why Proper Vinyl Siding Installation Matters
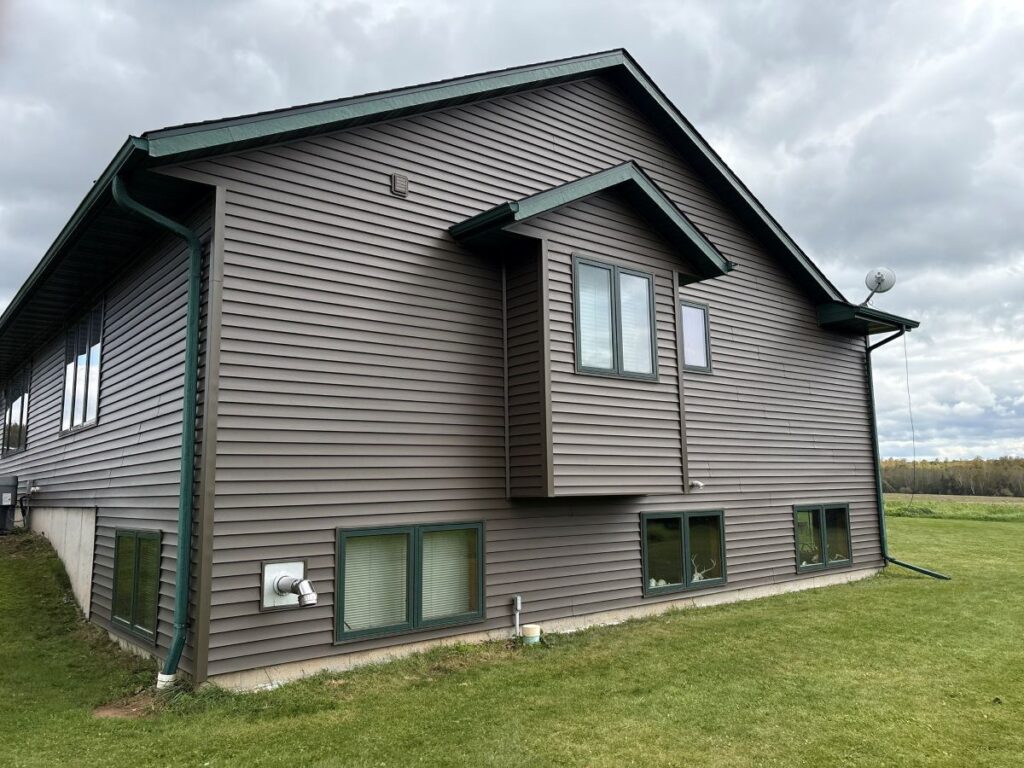
We often see issues caused not by the siding material itself, but by improper installation. Vinyl siding must be installed correctly to allow for expansion and contraction, proper drainage, and long term durability. Skipping steps or installing panels too tightly can lead to warping, moisture problems, and premature failure.
In Northern Wisconsin and the Upper Peninsula, siding must stand up to freezing temperatures, wind driven rain, and snow accumulation. Proper installation ensures vinyl siding performs as intended in these conditions. When done correctly, vinyl siding provides long lasting protection with minimal maintenance.
- Moisture management: Correct installation helps prevent water intrusion.
- Material performance: Allows siding to expand and contract properly.
- Long term protection: Reduces the risk of early failure.
7 Simple Steps To Install Vinyl Siding
Before starting, we want to be clear that vinyl siding installation is a detailed process that requires experience, proper tools, and an understanding of building codes. These steps outline the standard process so homeowners can understand what proper installation looks like, even if they choose to have us handle the work.
1. Remove Old Siding And Inspect The Wall
The first step is removing existing siding and inspecting the wall underneath. This allows us to identify any hidden damage, rot, or moisture issues before new siding is installed. Installing over damaged surfaces can lead to serious problems later.
- Full exposure: Reveals the condition of the exterior walls.
- Damage detection: Identifies rot or moisture issues early.
- Proper preparation: Ensures a solid foundation for new siding.
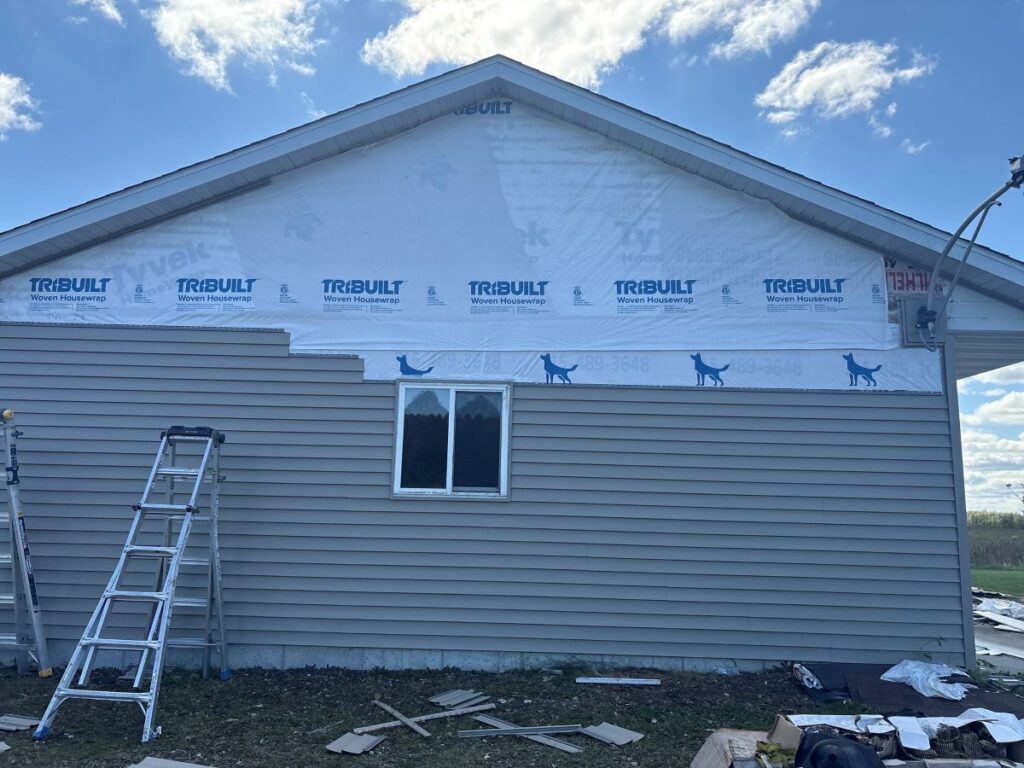
2. Install House Wrap Or Weather Barrier
Once the wall is exposed and repairs are made, a house wrap or weather resistant barrier is installed. This layer helps protect the home from moisture while still allowing it to breathe. It plays a critical role in overall siding performance.
- Moisture protection: Helps prevent water infiltration.
- Air control: Improves energy efficiency.
- Added defense: Provides an extra layer of protection.
3. Install Starter Strip At The Bottom
The starter strip is installed along the bottom of the wall and serves as the foundation for the siding panels. Proper alignment here is critical because every panel above it depends on this starting point. A level starter strip ensures straight, even siding.
- Level foundation: Keeps panels aligned.
- Secure attachment: Supports the first row of siding.
- Visual consistency: Prevents uneven rows.
4. Install Corner Posts And Trim Pieces
Corner posts, J channels, and trim pieces are installed next. These components frame the siding and allow panels to expand and contract properly. Proper placement ensures clean edges and smooth transitions around windows and doors.
- Clean edges: Provides finished appearance.
- Expansion space: Allows vinyl to move naturally.
- Detail focus: Enhances overall look.
5. Hang Vinyl Siding Panels
Vinyl siding panels are installed from the bottom up, locking into the starter strip and each other. Panels should never be nailed tightly, as vinyl needs room to move with temperature changes. Proper spacing is critical for long term performance.
- Bottom up approach: Ensures secure panel locking.
- Correct fastening: Prevents warping or buckling.
- Consistent spacing: Supports expansion and contraction.
6. Cut And Fit Around Windows And Doors
Careful cutting and fitting are required around windows, doors, and other openings. Precision here prevents gaps and water entry while maintaining a clean appearance. This step requires experience and attention to detail.
- Precise cuts: Ensures tight fits.
- Water protection: Prevents leaks around openings.
- Professional finish: Maintains curb appeal.
7. Install The Top Course And Finish Trim
The final step is installing the top row of siding and finishing trim. This secures the siding system and completes the exterior. Proper finishing ensures everything is locked in place while still allowing movement.
- Secure finish: Locks panels in place.
- Clean completion: Provides polished appearance.
- System integrity: Completes the siding installation.
Common Mistakes Homeowners Make With Vinyl Siding
We often see homeowners run into problems when attempting DIY siding installation without experience. Small mistakes can lead to major issues over time. Understanding these common errors highlights why professional installation matters.
- Over nailing panels: Restricts movement and causes warping.
- Skipping weather barriers: Increases moisture risk.
- Improper cuts: Leads to gaps and leaks.
When To Let Us Handle Vinyl Siding Installation
Vinyl siding installation involves more than attaching panels to a wall. Structural issues, moisture management, and code compliance all play a role. If your home has existing damage, complex layouts, or multi story sections, professional installation is the safest option.
Our team understands regional weather challenges and proper installation techniques. We ensure siding is installed correctly the first time, protecting your home for years to come.
- Complex projects: Multi story or detailed exteriors.
- Hidden damage: Requires professional evaluation.
- Long term reliability: Ensures proper performance.
Trust Lauren Exteriors For Vinyl Siding Installation
Understanding how to install vinyl siding helps homeowners recognize the importance of proper technique and preparation. While the steps may seem straightforward, experience and precision make all the difference. At Lauren Exteriors, we are a family owned company built on honesty, integrity, and delivering real value to homeowners across Northern Wisconsin and the Upper Peninsula.
If you are considering new vinyl siding or have questions about your home’s exterior, contact us today to schedule a free inspection. We are here to help protect your home and deliver siding solutions you can trust.